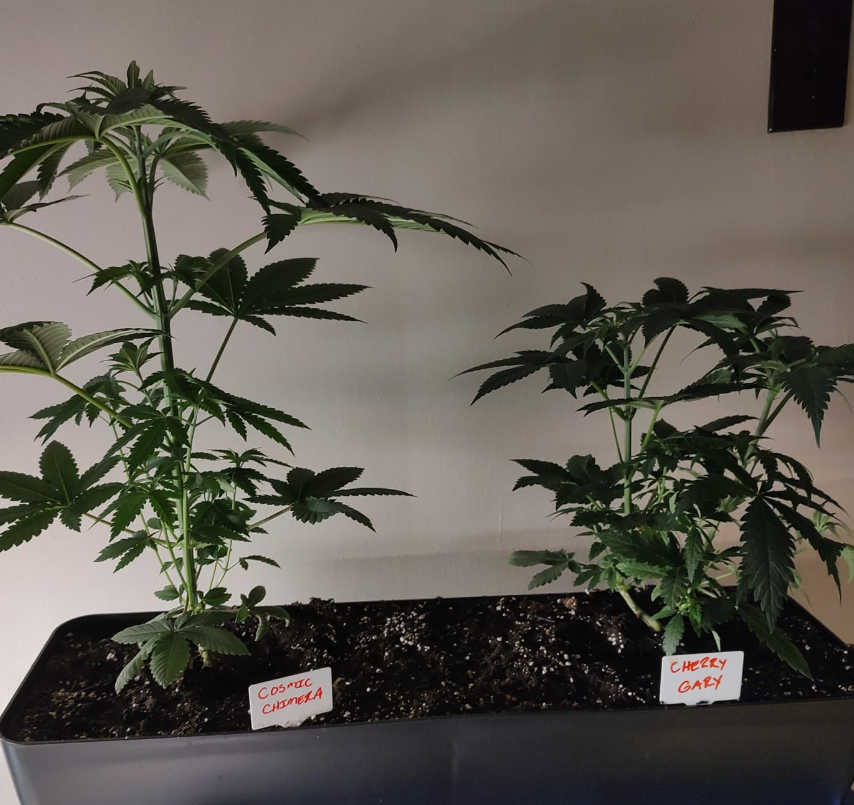
![]() Growing Weed Made Simple for Epic Buds and Stress-Free Results
Growing Weed Made Simple for Epic Buds and Stress-Free Results
So, you want to learn how to grow weed at home? Good news—it's way easier than you think.
With the right setup, quality nutrients, and a little TLC, you can grow frosty buds without breaking a sweat.
Whether you're just dipping your toes in or ready to crank up your grow game, we've got you covered.
Follow these simple steps and grow your own killer herb with confidence.
How to Grow Weed in 7 Simple Steps
Step 1: Pick the Right Seeds or Cuttings
It all starts with good seeds. Indica? Sativa? Hybrid? Choose what suits your vibe.
You should try Indica or one of its varieties for beginners because these are normally shorter and better suited to indoor grow spaces. Best of all, you don't have to struggle with complex light cycles.
Pro tip. Stick with quality seeds from trusted sources to avoid weak plants.
Step 2: Set Up Your Grow Space
Don't stress; there is no need for you to build a lab the likes of which will make Rick Sanchez drool green with envy.
However, if you want to start growing marijuana, your plants will need a dedicated space. Although, it doesn't need to be a hectic space.
A grow tent, closet, or spare room works great. Just make sure you control the basics.
Light
Cannabis loves light. Use LED grow lights for energy efficiency and killer results.
Airflow
Good ventilation prevents mold and keeps plants happy.
Temperature & Humidity
Aim for 70 to 85°F and 40 to 70% humidity, depending on the growth stage.
Step 3: Feed Your Plant
Nutrients will make or break your grow! Your plants need nitrogen (N), phosphorus (P), and potassium (K)—plus several micronutrients—to thrive.
Veg Builder boosts your leafy growth with nitrogen in the early stages.
Flower loads your plants up on phosphorus and potassium for bigger buds.
Cal Magnum prevents calcium and magnesium deficiencies.
Pro tip: Make sure to Stick to a feeding schedule for stable and consistent nutrients.
Check out our NUTES Nutrients lineup to keep your plants thriving.
Step 4: The Growth Stages Explained
As with all living things, there are several stages between seed and harvest when growing cannabis.
Germination (3 to 10 days). Seeds sprout. Keep them moist but not soaked.
Seedling (2 to 3 weeks). Tiny leaves appear. Use mild nutrients.
Vegetative (3 to 8 weeks). Plants grow tall. Increase nitrogen for leafy growth.
Flowering (6 to 10 weeks). Buds develop. Dial back nitrogen and increase phosphorus and potassium.
Pro tip. Don't stress if your plant looks a little different from others. Strain genetics and growing conditions can vary.
Step 5: Smart Watering
Overwatering kills plants faster than you can say growing pot. Here's how to keep your herbs green and flush.
Water when the top inch of soil feels dry.
Use pH-balanced water (around 6.0 to 6.5 for soil growth).
Do not water the leaves! Keep water on the soil.
Pro tip. NUTES Sugar Flush helps keep roots clean and boost nutrient absorption as you near harvest time.
Step 6: Prevent Common Mistakes
Even seasoned growers mess up sometimes. Avoid these rookie mistakes:
Overfeeding
More nutrients don't mean bigger buds—stick to feeding schedules.
Ignoring pH
An unbalanced pH locks out nutrients. Test regularly.
Light Leaks
Plants need darkness during flowering. Light leaks can stress them out.
Step 7: Harvest Like a Pro
When the buds are frosty and the pistils turn amber, it's showtime. Here's how to do it right.
Flush https://greenair.com/products/nutes-nutrients-sugar-flush
Stop feeding base nutrients and use plain water or sugar flush for 1 to 2 weeks.
Cut
Trim the plant at the base.
Dry
For the best results, hang your buds upside down in a dark, well-ventilated space for 7 to 10 days.
Cure
Store dried buds in airtight jars, burping them daily for 2 to 3 weeks for max flavor.
Get Growing!
Now that you know how to grow weed like a pro, it's time to get your hands dirty. With the right nutrients and a chill setup, you'll be stacking frosty buds in no time.

